Auto-Pay Workflow
Creating an Auto-Pay Card
From the dashboard, go to Assets -- Products. Click the blue +New button on the lower left, and a pop-up screen appears:
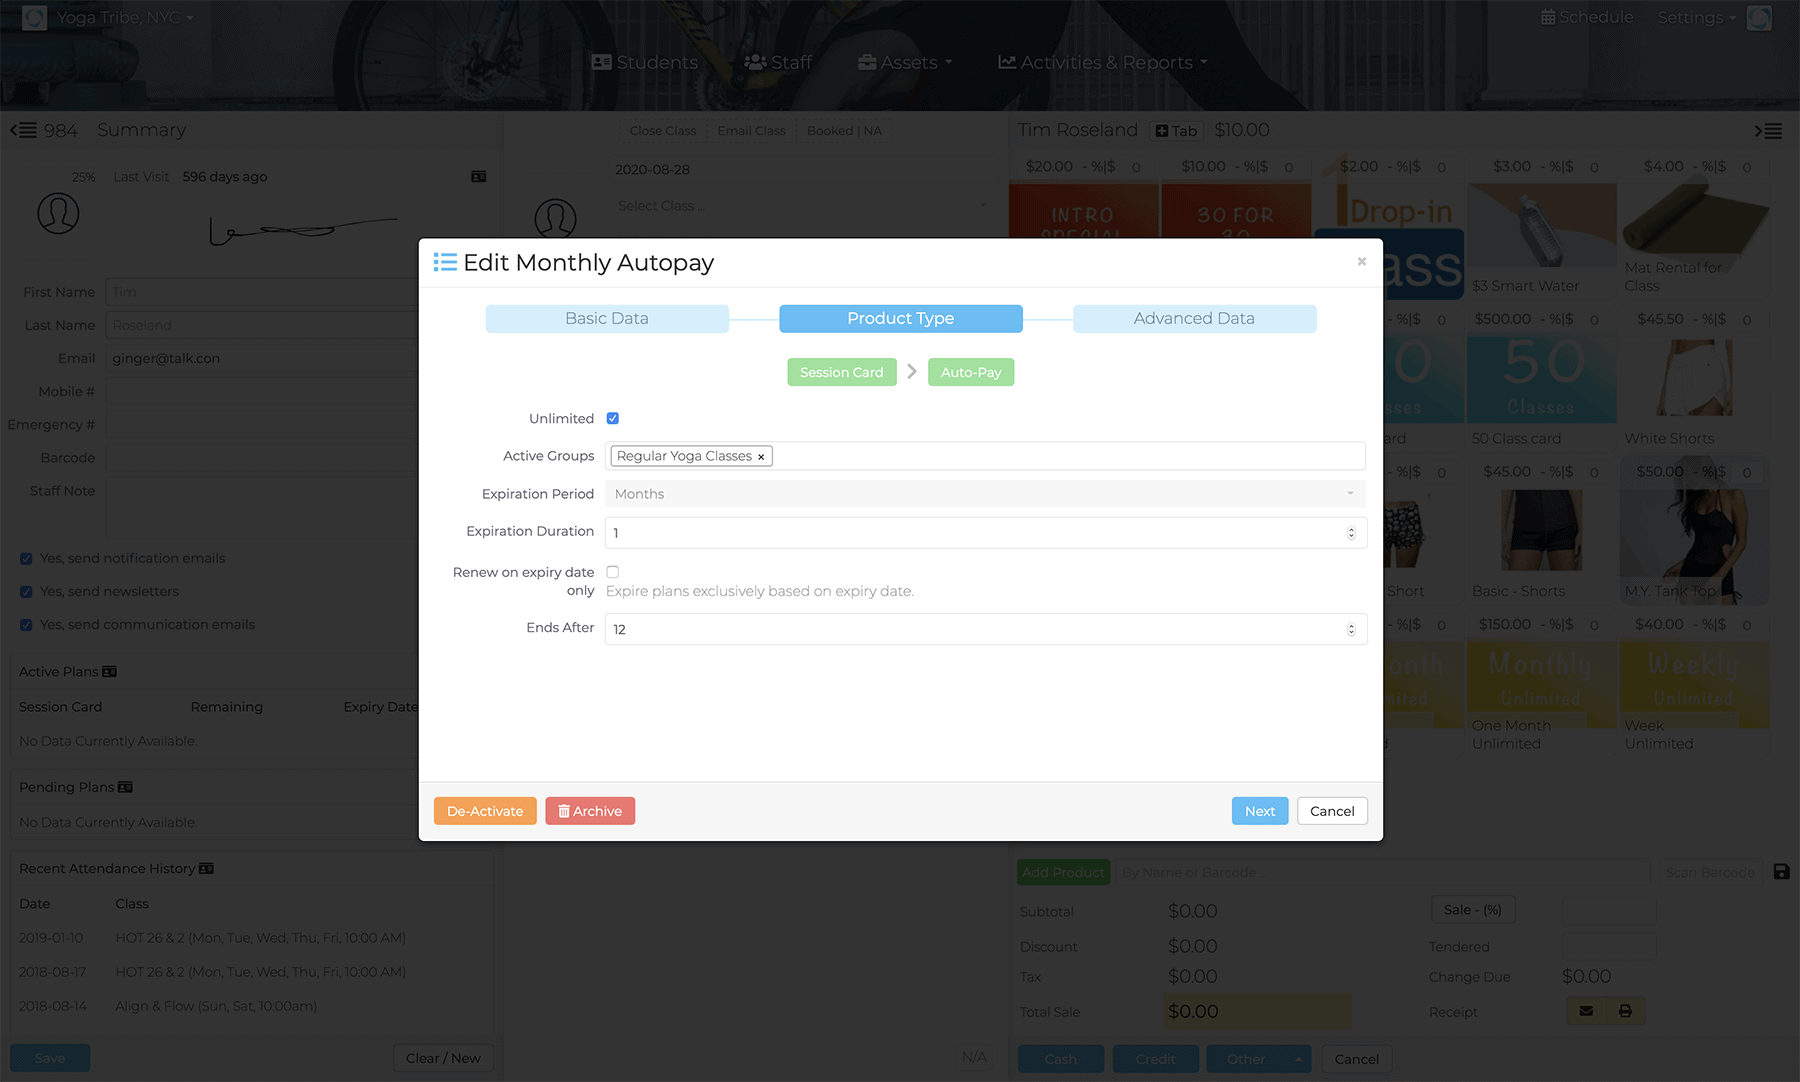
Create the session as you would normally. See Create a New Product for details.
Auto Pay: Make sure to turn Auto Pay ON.
Ends After: Set the number of recurring payment months before autopay is discontinued automatically.
Selling an Auto Pay Card: Selling an Auto-pay membership is the same as selling any other package. Karmasoft will recognize - it's an autopay - and will provide you with the option to pro-rate the amount and autopay date.
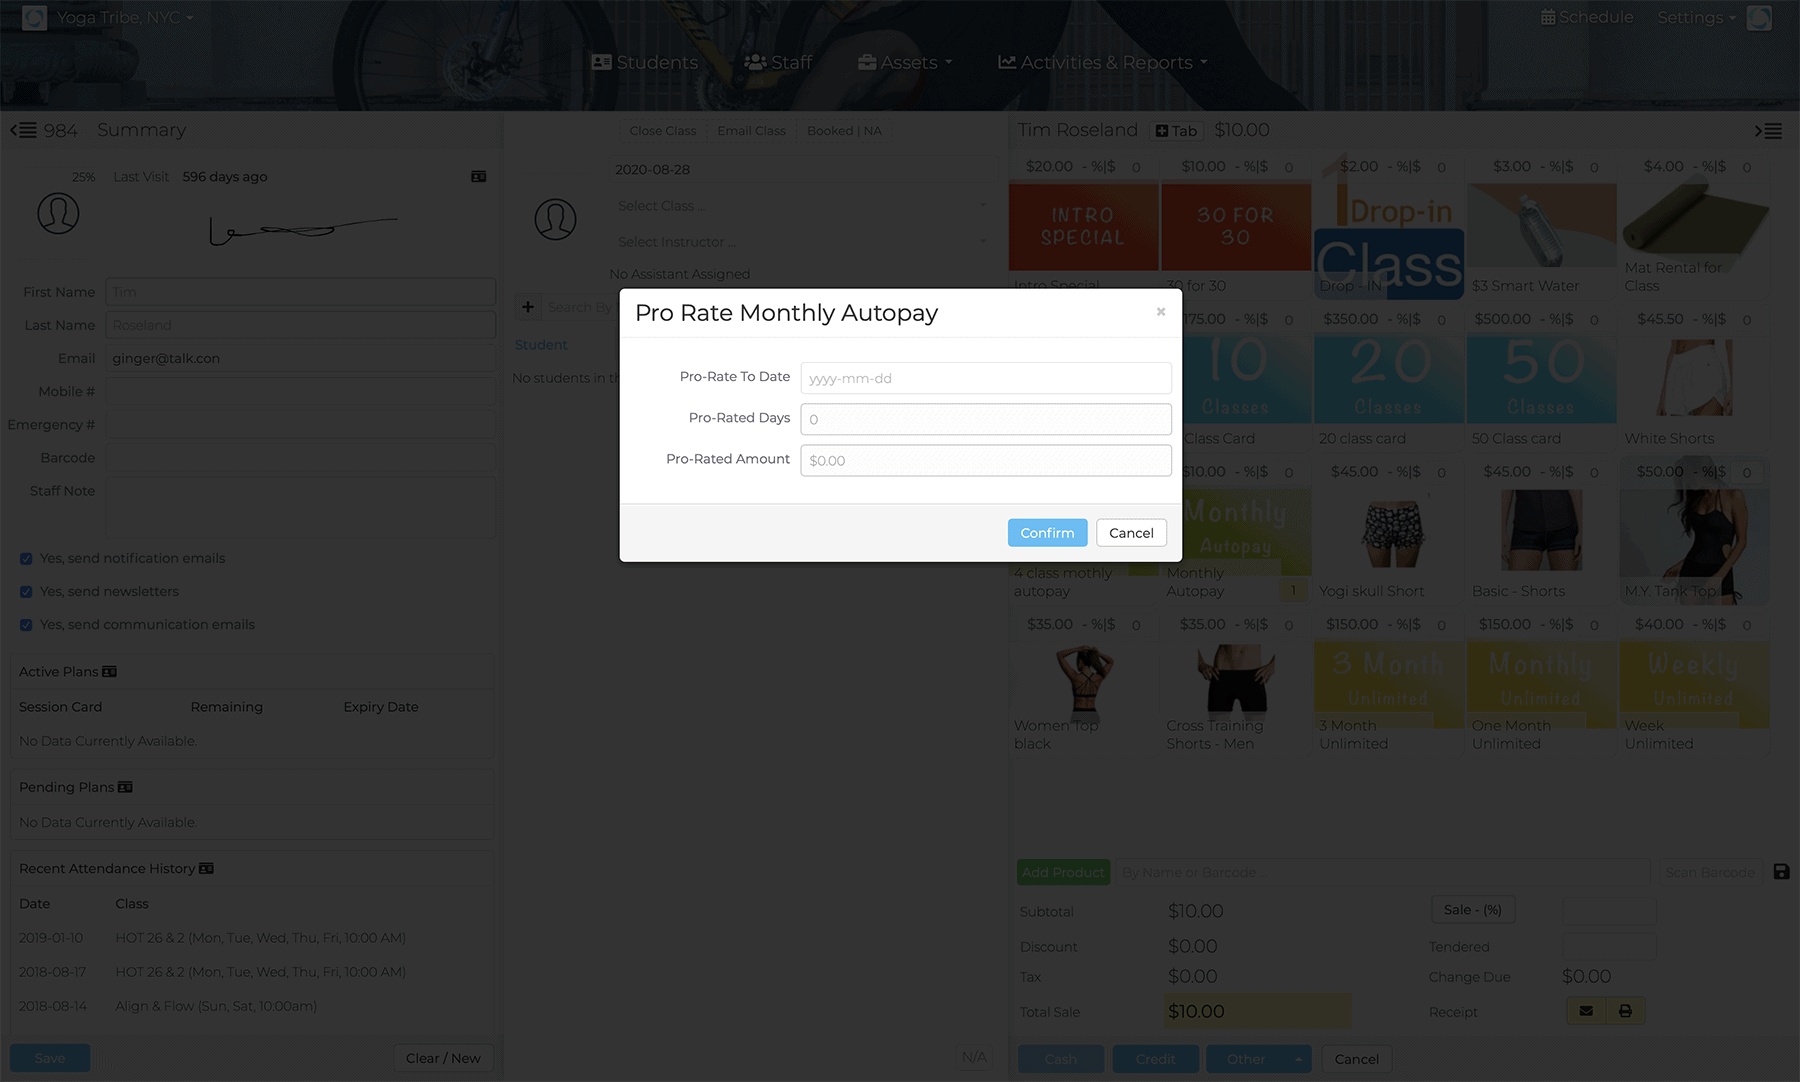
Select your pro-rate date, Karmasoft will calculate the pro-rate Amount. Click Confirm to except. If you do not wish to pro-rate the membership click Cancel.
You will be returned to the dashboard to select the payment method and complete the transaction.
Managing Auto-Pay Cards
Quick update/notification for failed Auto-pay transactions:
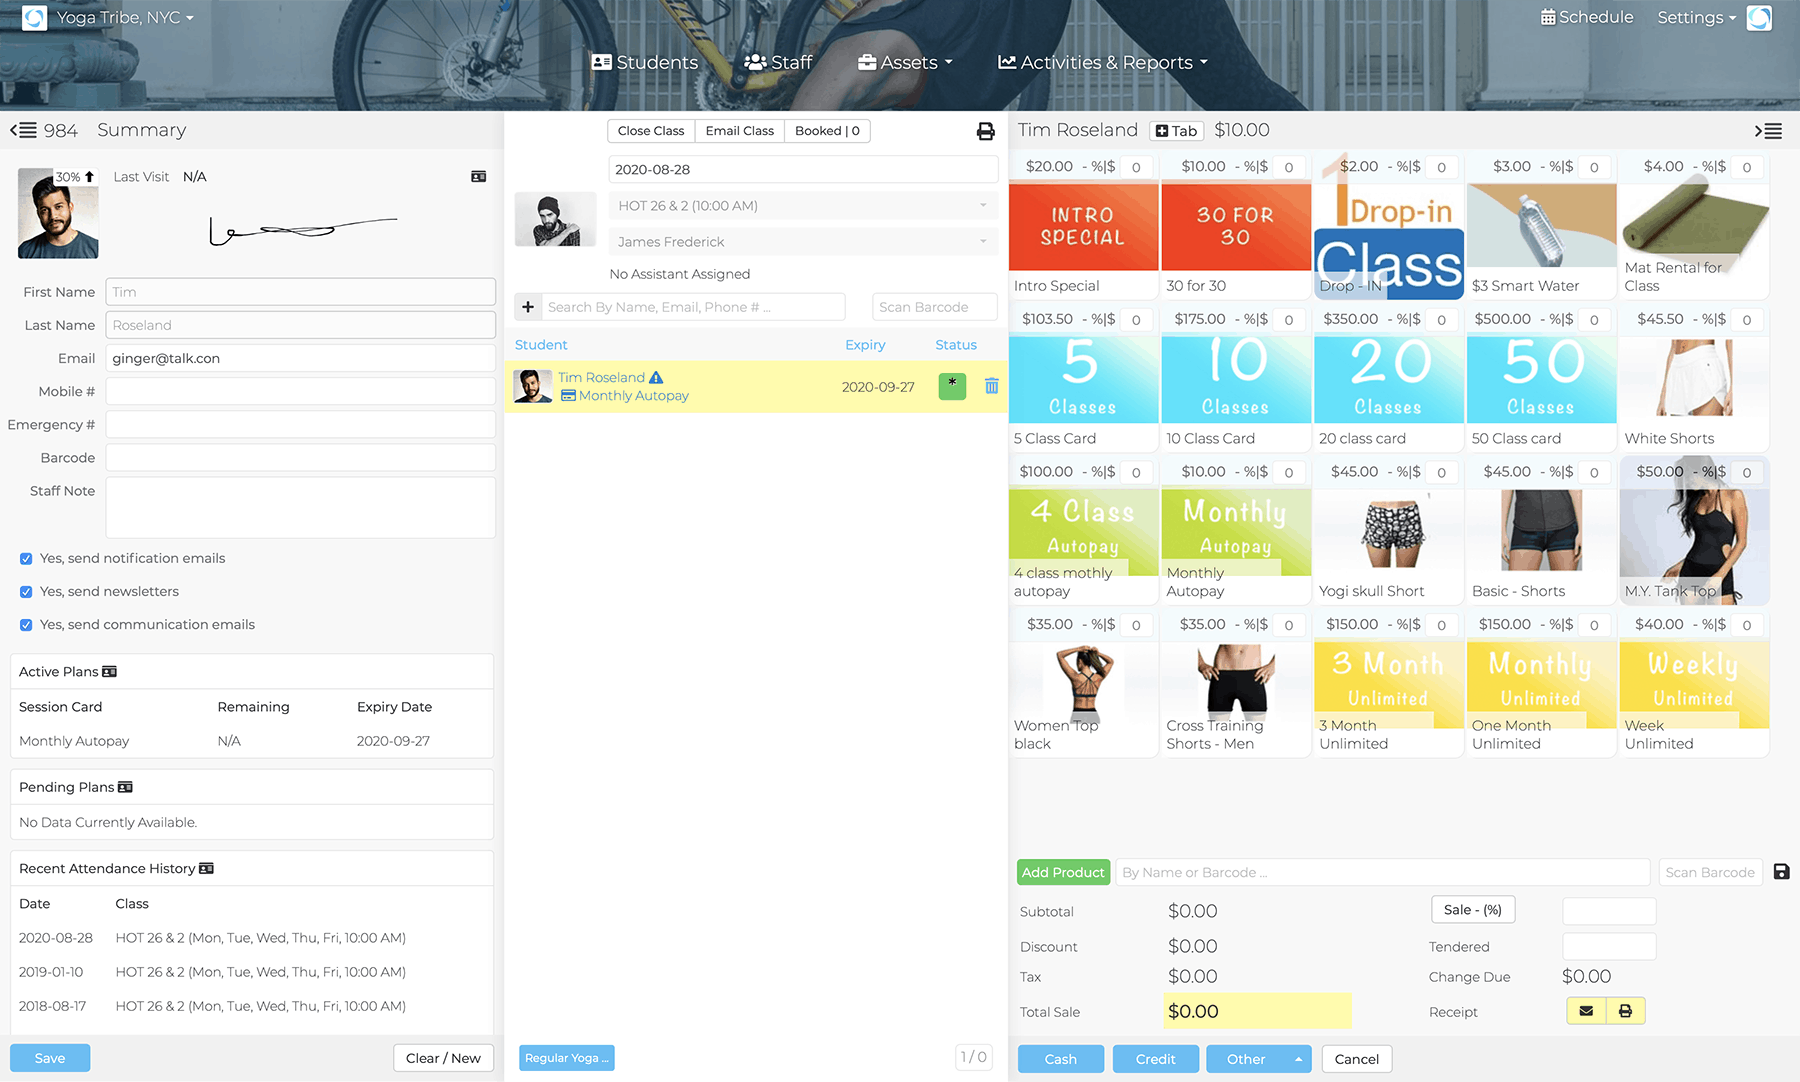
See autopay status on your dashboard during class sign-in. A credit card icon will appear next to every autopay package. Simply click on the credit card icon to open the update screen.
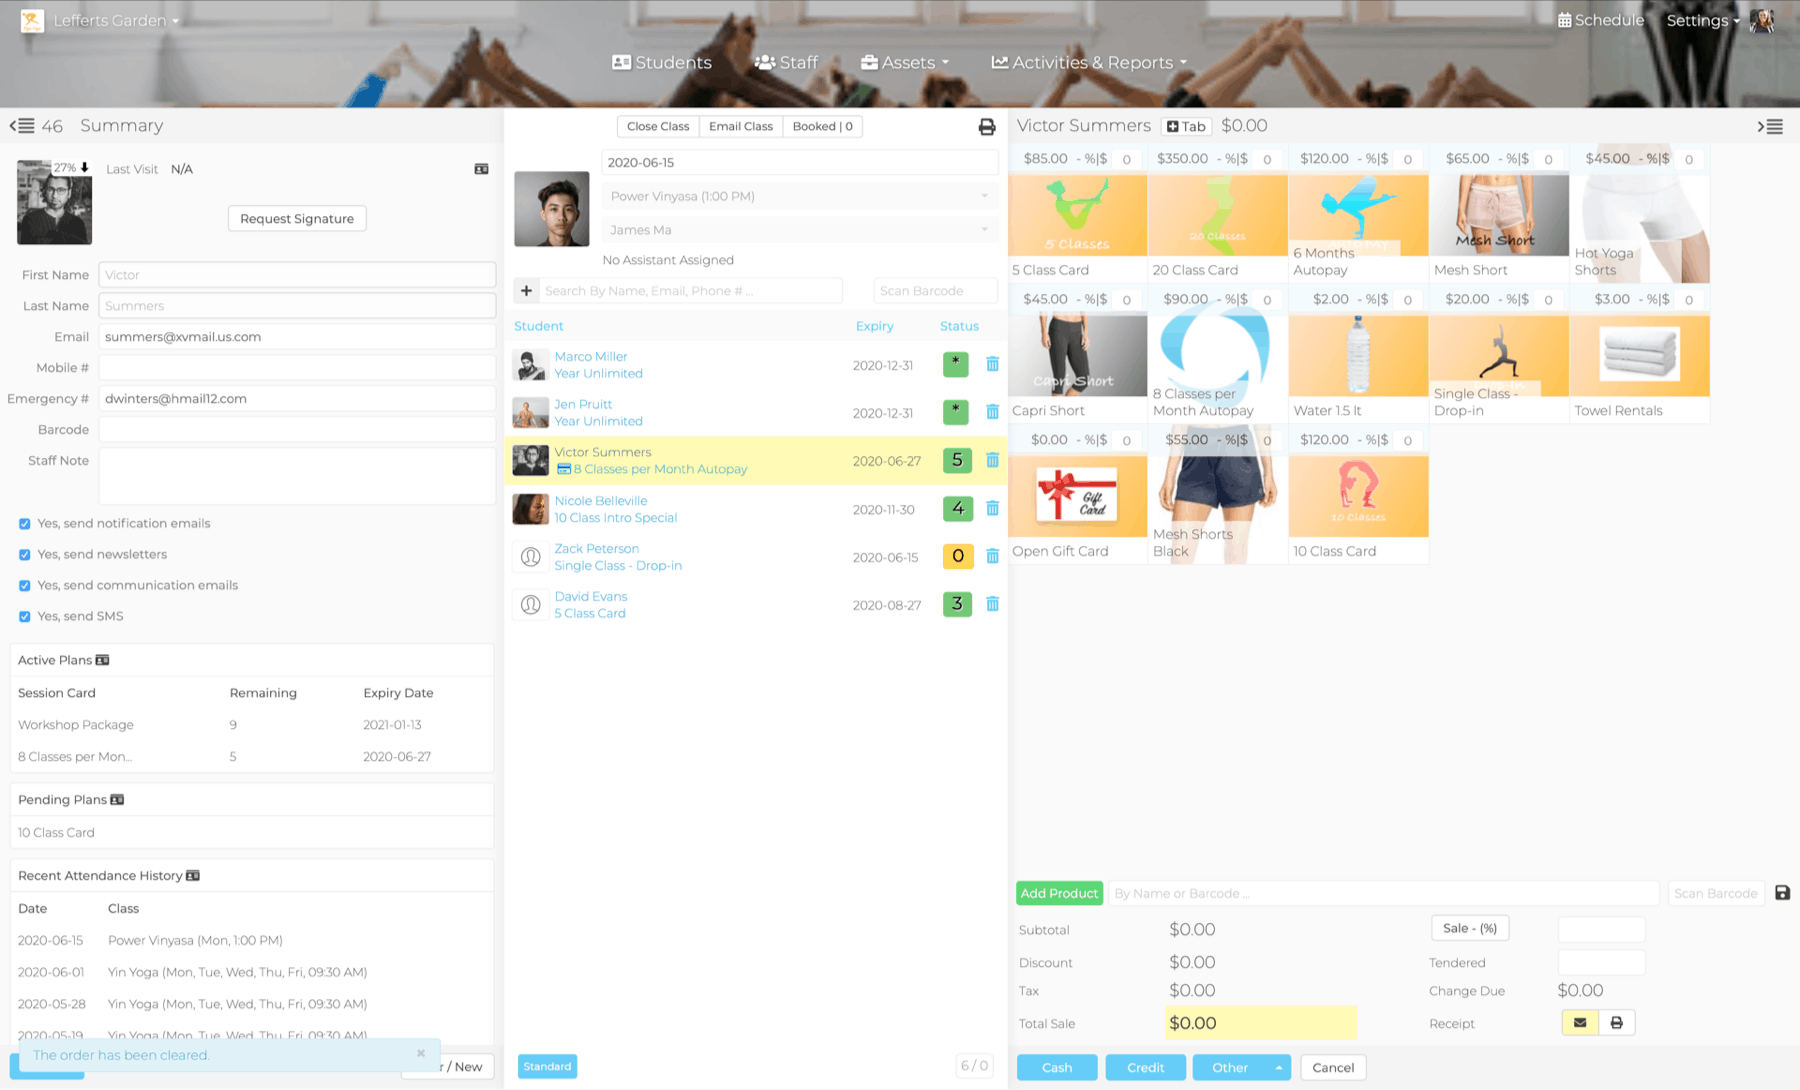
You can also update info manually and see more details. From the dashboard, click Assets ---> Auto-Pay Cards. Karmasoft will display all your current and active Auto-pay Cards. You can select the option to view failed or completed Auto-pay transactions.
Cancel an Auto-Pay
Click Cancel to cancel all future Auto-pay transactions. Once canceled, you will not be able to undo.
Update Credit Card Info
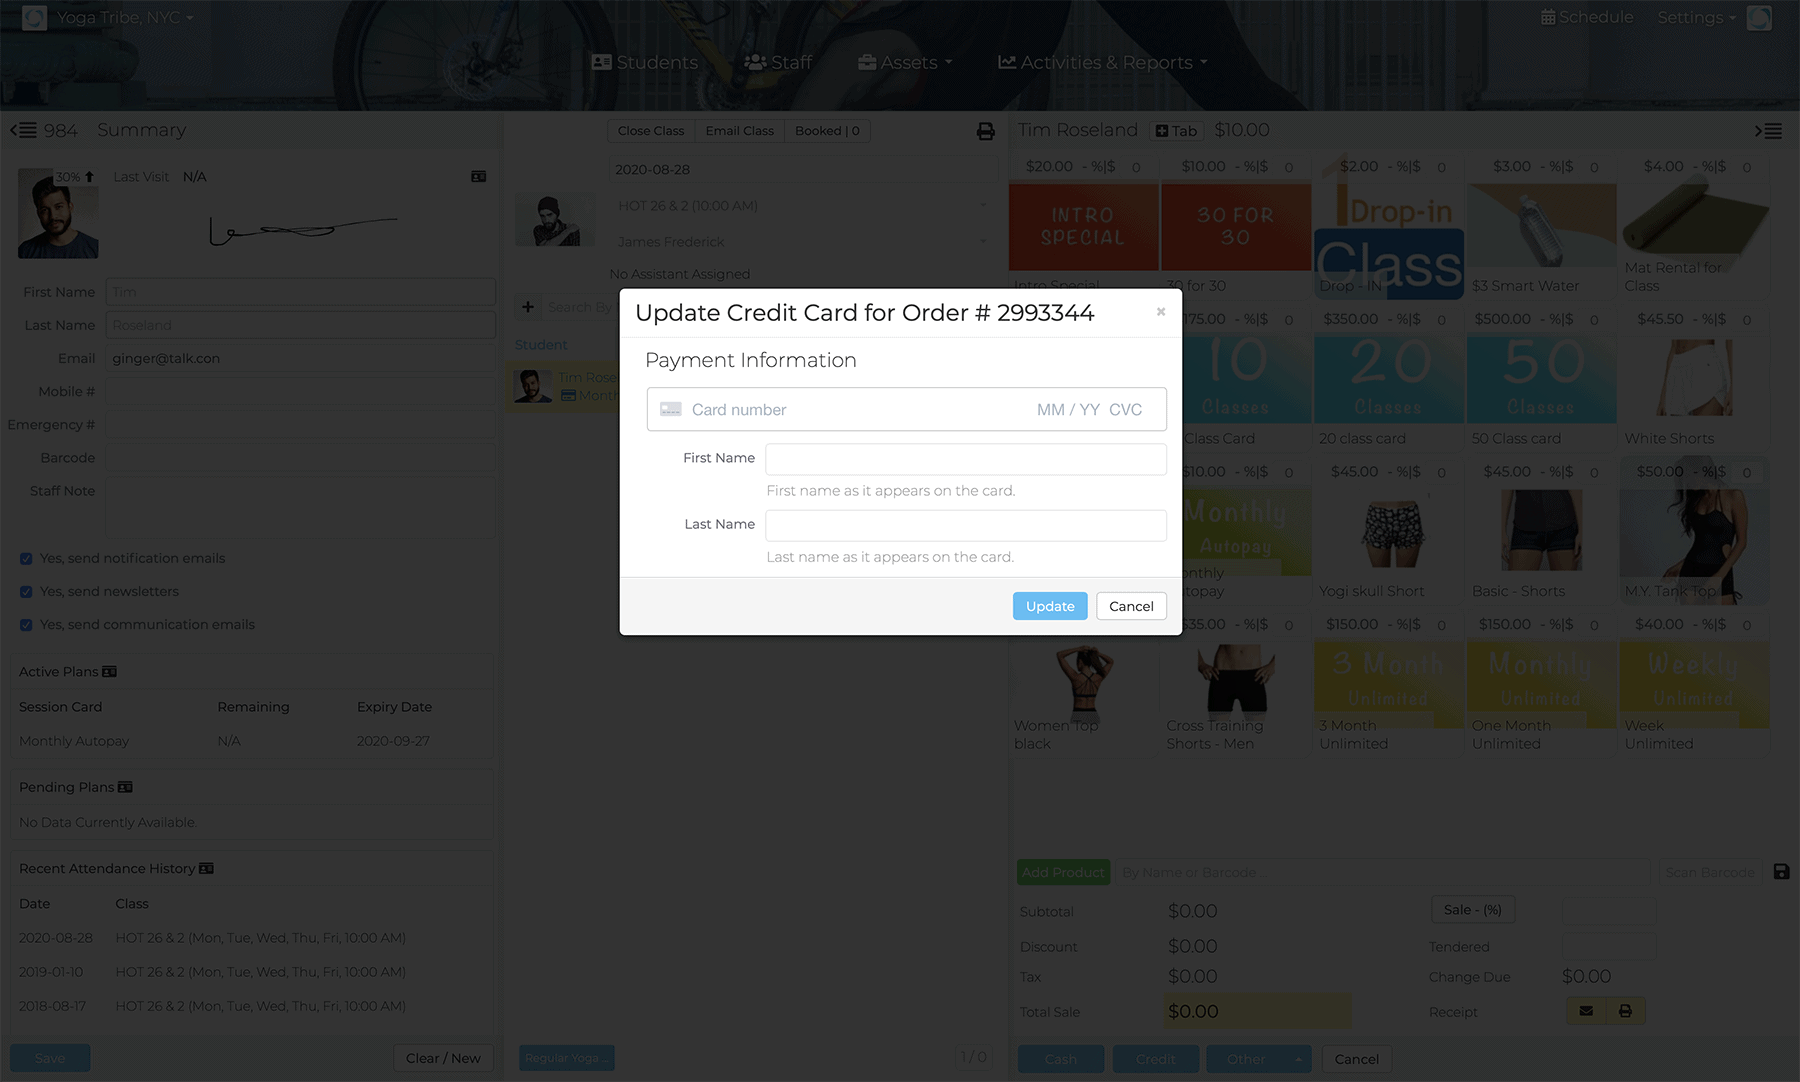
Clicking on Update button will open a form for you to enter the new credit card info.
Note: You can also access this screen by clicking the credit card icon below the student's name from the Class Sign-In panel.
Update/Change Amount Due
If you change the amount due value, the next transaction will reflect the new amount.
Suspend or Pause an Auto-pay Card.
Suspending a student plan that is related to an Auto Pay will also suspend the scheduled payments. More on managing student plans.